Do Electric Fireplaces Use a Lot of Electricity?
Exploring Electric Fireplace Energy Use
Electric fireplaces are a convenient, modern way to add warmth and ambiance to your home without the hassle of traditional wood or gas setups. But one common question homeowners ask is whether electric fireplaces use a lot of electricity. The good news is that electric fireplaces are typically more energy-efficient than many heating alternatives—and understanding how they work can help you manage costs even more effectively. Here’s what you should know about their electricity usage and how to get the most from your fireplace.
Already have an electric fireplace? Turn to the Fireside Home Solutions team for expert fireplace service.
Understanding Electricity Use
Electric fireplaces operate by converting electricity into heat, often using a built-in fan heater. On average, most units use around 1,500 watts when running at full power. This translates to roughly $0.15–$0.25 per hour, depending on your local electricity rates. Compared to central heating systems that warm your entire home, an electric fireplace can be a cost-effective way to heat a single space—especially when you only need localized comfort.
Factors That Affect Energy Consumption
Several factors can impact how much electricity your electric fireplace uses:
- Larger rooms require more energy to maintain warmth, making room size a major contributor to overall electricity use.
- The fireplace model and its settings influence consumption, since many units offer variable heat levels or a flame-only mode that significantly reduces energy draw.
- Your home’s insulation and ambient temperature affect how efficiently the fireplace can operate, which in turn impacts how much electricity it needs.
Tips for Energy Efficiency
To make the most of your electric fireplace, consider a few simple efficiency tips:
- Use the fireplace to supplement your home’s main heating system rather than replace it, practicing “zone heating” by warming only the rooms you use most.
- Set the thermostat to a comfortable but moderate level, and turn off the heater whenever it’s not in use to avoid unnecessary energy consumption.
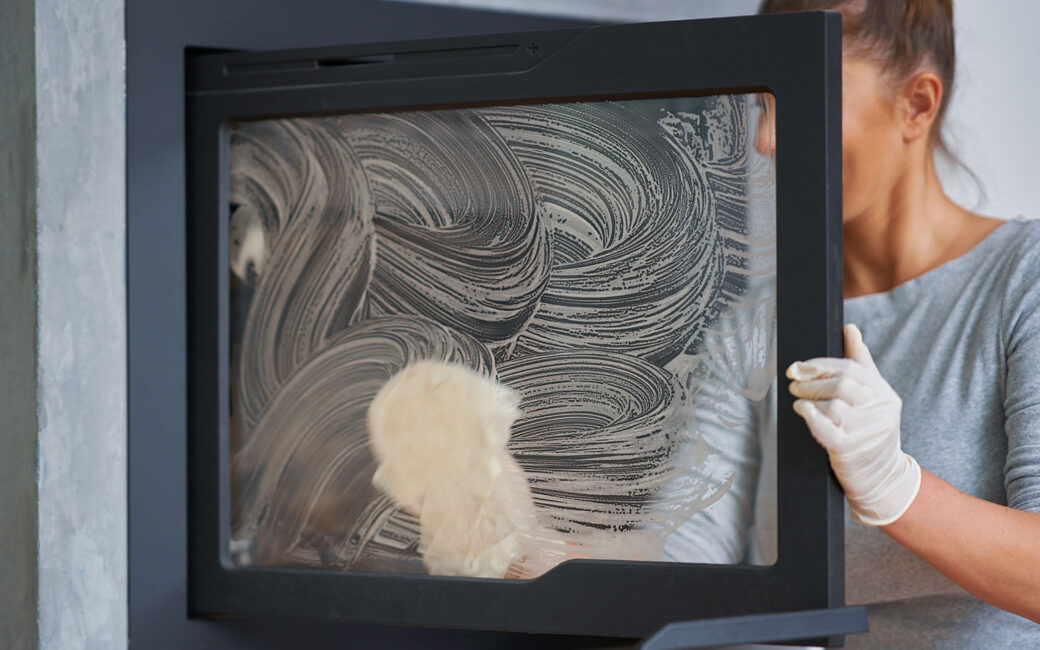
- Keep the unit clean and ensure vents remain unblocked so the fireplace can maintain proper airflow and operate efficiently.
- Choose an electric fireplace with LED lighting and an adjustable thermostat, which can help you manage and reduce overall energy use more effectively.
The Benefits of Electric Fireplaces
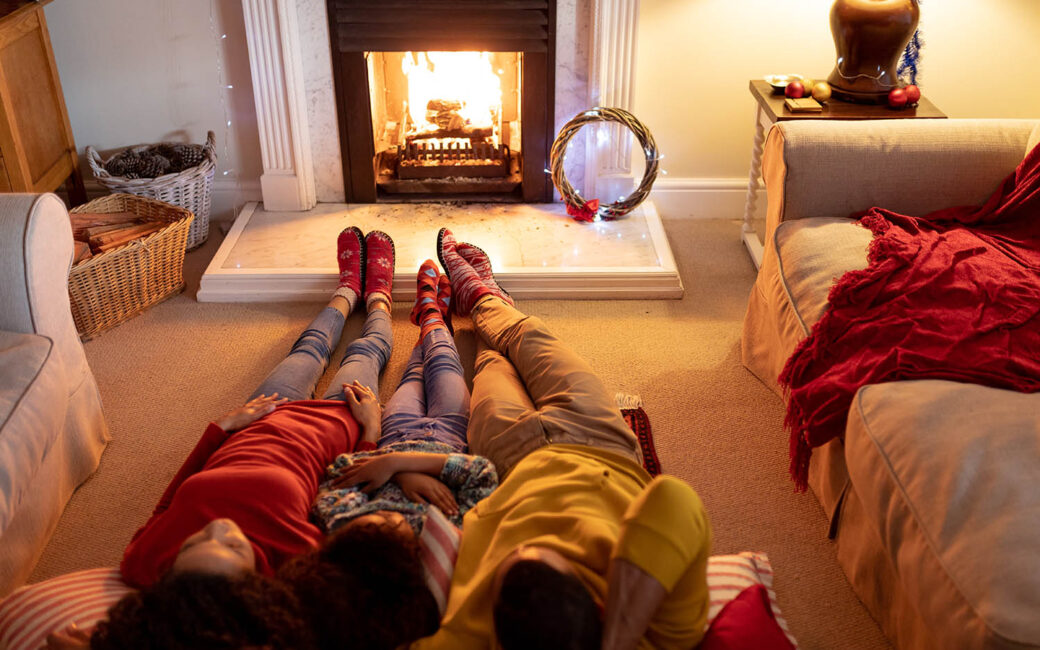
Beyond their efficiency, electric fireplaces are easy to install and maintain. There’s no need for venting, chimney cleaning, or gas hookups—just plug it in and enjoy. They also provide consistent heat output, are safe for families, and come in a range of styles to match your décor. Plus, since you can use the flame effect independently from the heat, you can enjoy the cozy glow of a fire year-round without raising your energy bill.
Why Choose Fireside Home Solutions?
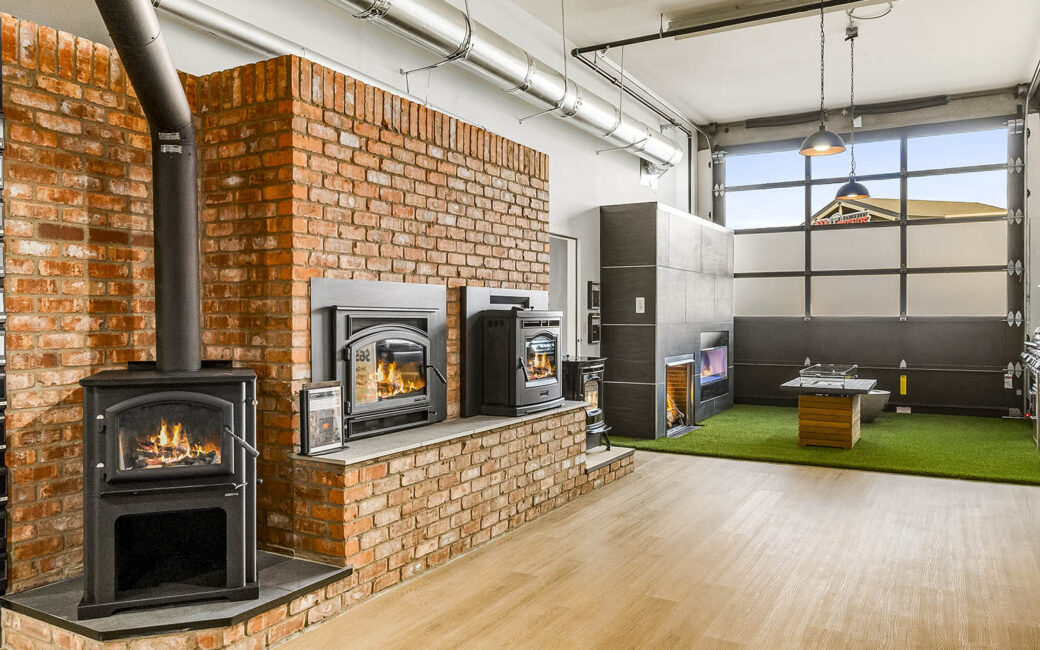
Whether you’re upgrading your home heating or adding an electric fireplace for ambiance, Fireside Home Solutions offers expert guidance and installation services in the Seattle and Portland areas. Our team provides full-service solutions for fireplaces, garage doors, and more—tailored to fit your home and budget.
Contact us today to learn more about our fireplace and garage door solutions or to schedule your next tune-up.